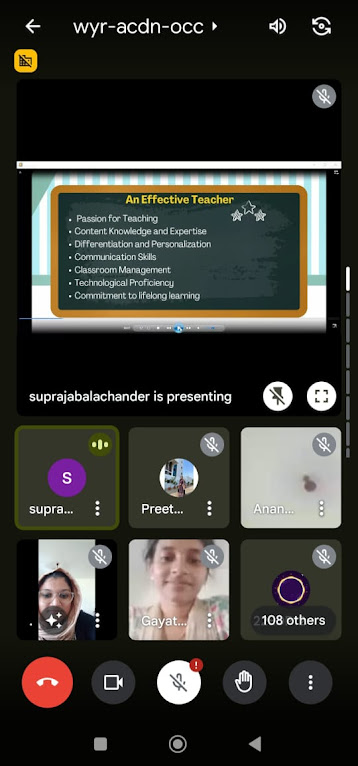
Ex.No.6.To use a visual projector to display and share an information to the whole class
Ex.No.6 .To use a visual projector to display and share an information to the whole class.
AIM: Using a visual projector to display and share information with the whole class can be an effective
way to engage students.
A step-by-step guide to help you set up and use a visual projector:
Hardware Setup:
Connect the Projector to the Computer:
Use the appropriate cables (VGA, HDMI, DisplayPort, etc.) to connect the projector to your
computer. Ensure that both the projector and the computer are powered off before making the
connections.
Power On the Projector:
Turn on the projector using the power button. Allow it some time to warm up and initialize.
Power On the Computer:
Turn on your computer and wait for it to fully boot up.
Display Settings:
Adjust Computer Display Settings:
Go to your computer& display settings.
Select the projector as the secondary display or choose the option that extends your desktop to
the projector.
Set Screen Resolution:
Adjust the screen resolution to match the native resolution of the projector for the best image
quality.
Projector Controls:
Focus and Zoom:
Adjust the focus and zoom settings on the projector to ensure a clear and sharp image.
Keystone Correction:
If your projector has keystone correction, use it to correct any distortion caused by the angle of
the projector.
Presentation Software:
Open Your Presentation Software:
Launch the presentation software you&be using (e.g., Microsoft PowerPoint, Google Slides).
Load Your Presentation:
Open the presentation file you want to share with the class.
Projecting the Presentation:
Start Slideshow:
Initiate the slideshow mode within your presentation software.
Check Visibility:
Stand at different parts of the room to ensure that all students can clearly see the projected
content.
Interactivity:
Use a Pointer or Mouse:
If your projector supports it, use a pointer or a wireless mouse to interact with the content
without having to be at the computer.
Engage with Students:
Encourage student interaction by asking questions, using the projector to display relevant images
or videos, and incorporating multimedia elements into your presentation.
End Slideshow:
Exit the slideshow mode on your presentation software.
Power Off Projector:
Turn off the projector using the power button.
Disconnect Cables:
Safely disconnect the cables connecting the projector to the computer.


Comments
Post a Comment